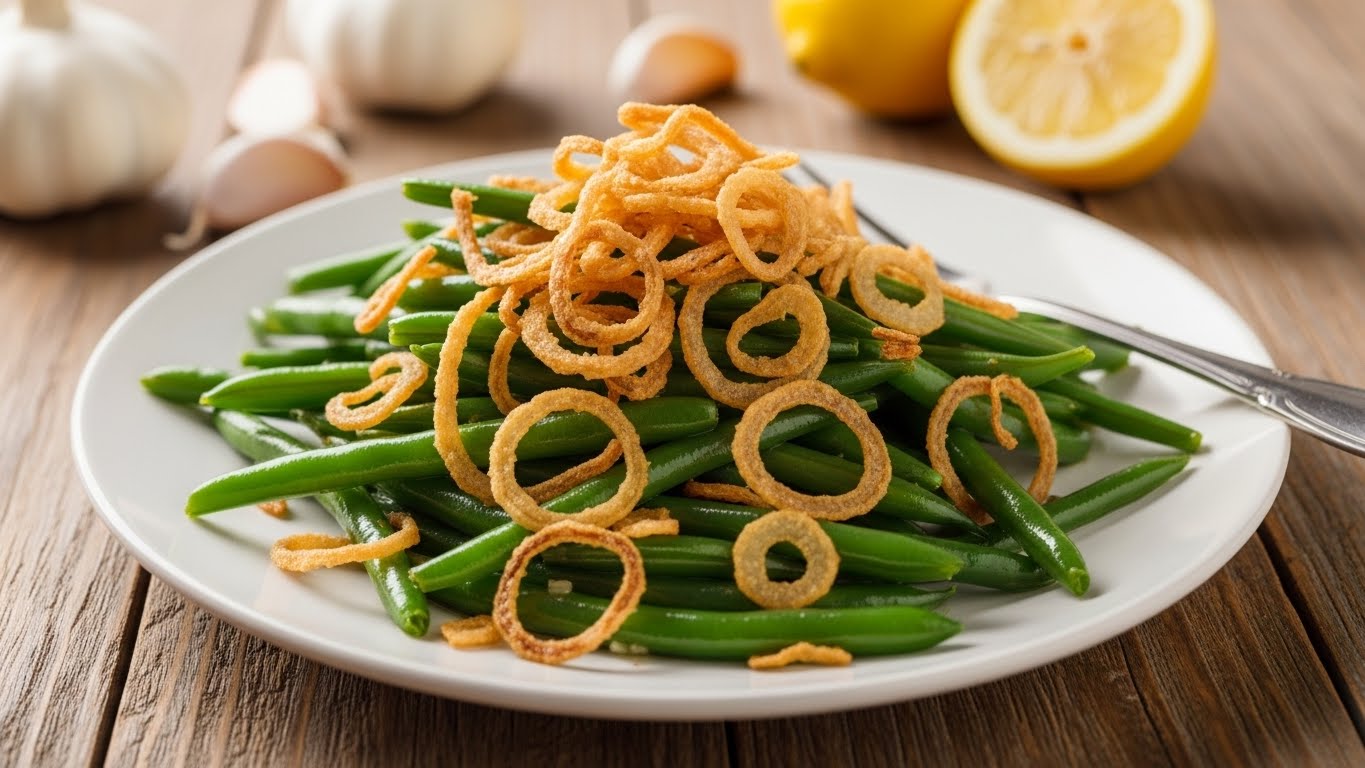
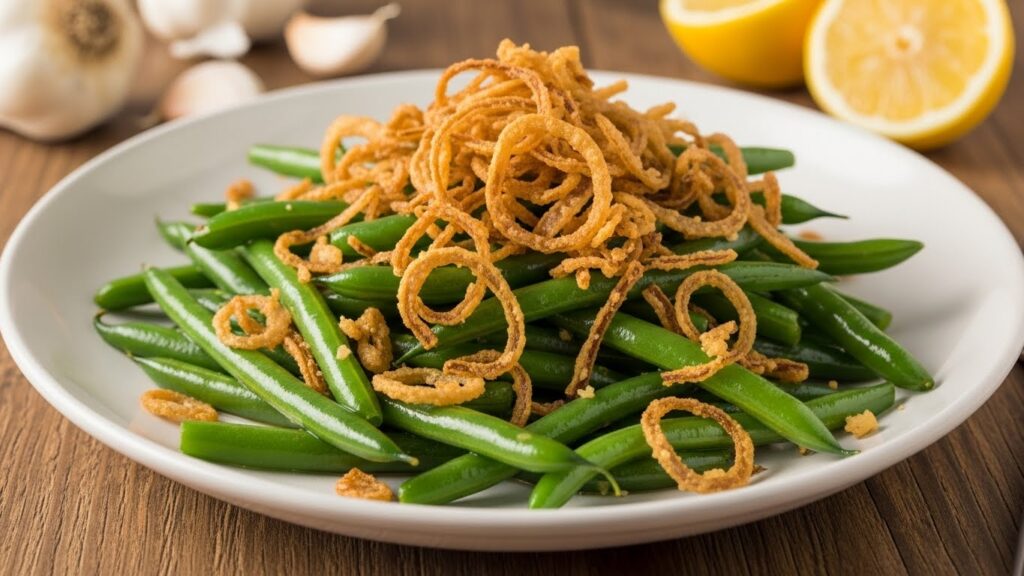
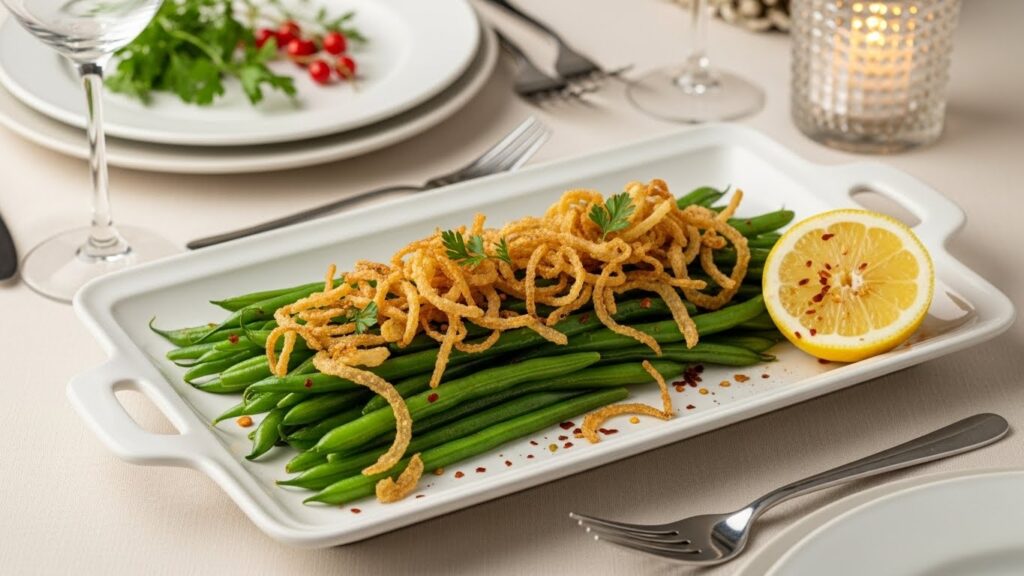
Garlicky Green Beans with Fried Onions – Crispy, Flavorful Side Dish in 25 Minutes
There’s something magical about the combination of tender-crisp green beans, aromatic garlic, and golden fried onions that’ll make everyone at your table reach for seconds.
This Garlicky Green Beans with Fried Onions recipe is one of those dishes that looks fancy but is surprisingly easy to make at home.
I love serving this recipe during holiday dinners, but honestly, it’s become a regular weeknight favorite in my kitchen too.
The crispy fried onions on top add an irresistible crunch that takes ordinary green beans to a whole new level.
Whether you’re hosting Thanksgiving dinner or just want to make vegetables exciting again, this recipe delivers big flavor with minimal effort.
The best part?
You can have this beautiful side dish ready in just 25 minutes from start to finish.
It pairs wonderfully with roasted chicken, grilled steak, or even as part of a vegetarian spread.
Trust me, even the pickiest eaters who claim they don’t like vegetables will be asking for more!
Recipe Overview
- Prep Time: 10 minutes
- Cook Time: 15 minutes
- Total Time: 25 minutes
- Difficulty Level: Easy
- Cuisine Type: American/Fusion
- Servings: 2 people or 6 people (both versions below)
- Best Served With: Roasted chicken, grilled salmon, baked pork chops, garlic mashed potatoes, or herb rice pilaf
Ingredients List
For 2 People:
- Fresh green beans – 300g (10.5 oz)
- Garlic cloves – 4 cloves, minced
- Olive oil or butter – 2 tablespoons (30ml)
- Salt – ½ teaspoon (or to taste)
- Black pepper – ¼ teaspoon, freshly ground
- Onion (medium-sized) – 1 whole, thinly sliced
- All-purpose flour – 3 tablespoons (24g)
- Vegetable oil (for frying onions) – ½ cup (120ml)
- Lemon juice (optional) – 1 teaspoon
- Red pepper flakes (optional) – a pinch for heat
For 6 People:
- Fresh green beans – 900g (32 oz / 2 lbs)
- Garlic cloves – 12 cloves, minced
- Olive oil or butter – 6 tablespoons (90ml)
- Salt – 1½ teaspoons (or to taste)
- Black pepper – ¾ teaspoon, freshly ground
- Onions (medium-sized) – 3 whole, thinly sliced
- All-purpose flour – 9 tablespoons (72g)
- Vegetable oil (for frying onions) – 1½ cups (360ml)
- Lemon juice (optional) – 1 tablespoon
- Red pepper flakes (optional) – ¼ teaspoon for heat
Equipment Needed
- Large pot (for blanching green beans)
- Large skillet or frying pan (12-inch works great)
- Smaller saucepan or deep skillet (for frying onions)
- Colander or strainer
- Sharp knife and cutting board
- Mixing bowl (for coating onions)
- Slotted spoon or spider strainer
- Paper towels (for draining fried onions)
- Measuring cups and spoons
- Tongs or wooden spoon
- Serving platter
Step-by-Step Cooking Instructions
Step 1: Prepare the Green Beans
Rinse the fresh green beans under cold running water. Pat them dry with a clean kitchen towel.
Using a sharp knife, trim off both ends of each green bean – just a small cut to remove the tough tips.
If you have really long beans, you can cut them in half, but I usually keep them whole for a prettier presentation.
Step 2: Blanch the Green Beans
Fill your large pot with water and add 1 teaspoon of salt. Bring it to a rolling boil over high heat.
Once boiling, carefully add the green beans. Let them cook for exactly 3-4 minutes. You want them bright green and slightly tender but still crisp. Here’s the trick: they should still have a bit of crunch when you bite into one.
Step 3: Ice Bath the Beans
While the beans are cooking, prepare a large bowl with ice water. When the beans are done, immediately drain them in a colander and plunge them into the ice bath.
This stops the cooking process and keeps that beautiful bright green color. Let them sit for 2 minutes, then drain well and pat dry.
Step 4: Prepare the Onions
Peel your onion and slice it as thin as you can – about ⅛-inch thick rings. Separate the rings with your fingers.
Place the sliced onions in a mixing bowl and add the flour. Toss everything together with your hands until each onion ring is lightly coated with flour. Shake off any excess flour.

Step 5: Fry the Onions
Heat the vegetable oil in your smaller saucepan over medium-high heat. To test if it’s ready, drop one onion piece in – it should sizzle immediately.
Working in batches (don’t overcrowd the pan), carefully add the floured onion rings. Fry for 3-4 minutes, stirring occasionally with a slotted spoon, until they turn golden brown and crispy.
They’ll get a bit darker after you remove them, so don’t wait until they’re super dark brown.
Step 6: Drain the Fried Onions
Use your slotted spoon to transfer the fried onions to a plate lined with paper towels. Sprinkle them immediately with a tiny pinch of salt while they’re still hot.
Set aside. They’ll continue to crisp up as they cool. By the way, your kitchen will smell amazing right about now!
Step 7: Prep the Garlic
While the onions are cooling, peel your garlic cloves and mince them finely. You can also use a garlic press if you have one.
Fresh garlic is key here – the pre-minced stuff from a jar just won’t give you the same punch of flavor.
Step 8: Sauté the Garlic
Heat your large skillet over medium heat. Add the olive oil or butter (I like using half of each for the best flavor).
Once the butter melts and starts to foam slightly, add the minced garlic. Stir constantly for about 30-45 seconds.
The garlic should become fragrant and just barely start to turn golden. Don’t let it brown too much or it’ll taste bitter!
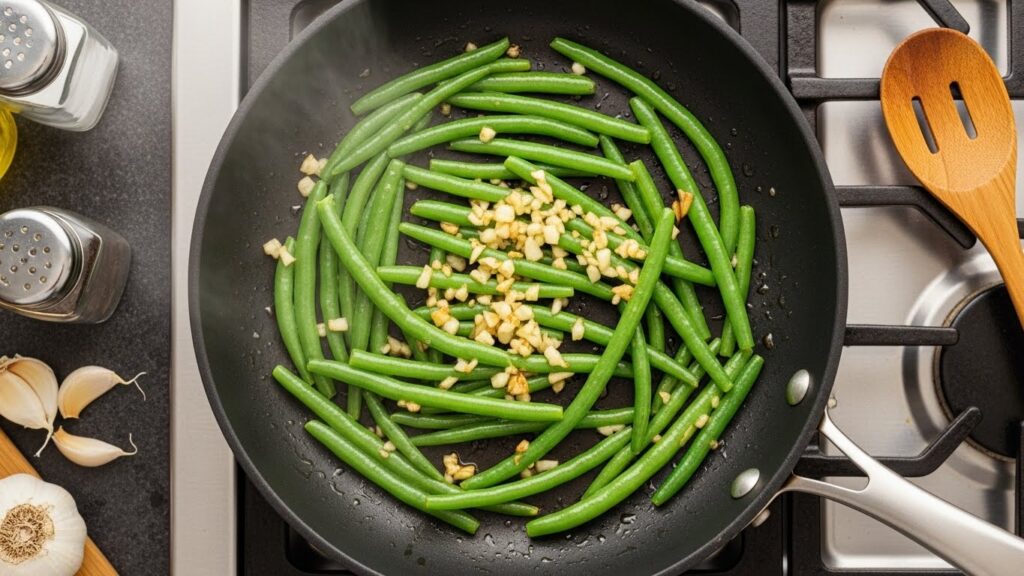
Step 9: Cook the Green Beans
Add your blanched and dried green beans to the skillet with the garlic. Toss everything together so the beans get coated with that garlicky goodness.
Season with salt and black pepper. Cook for 4-5 minutes, stirring occasionally, until the beans are heated through and have absorbed all those wonderful flavors. If you want a bit of char, let them sit undisturbed for 1-2 minutes before tossing.
Step 10: Final Touch
Taste a green bean and adjust the seasoning if needed. If you’re using lemon juice, drizzle it over the beans now and give everything one final toss.
The acid from the lemon brightens up the whole dish and balances the richness of the fried onions.
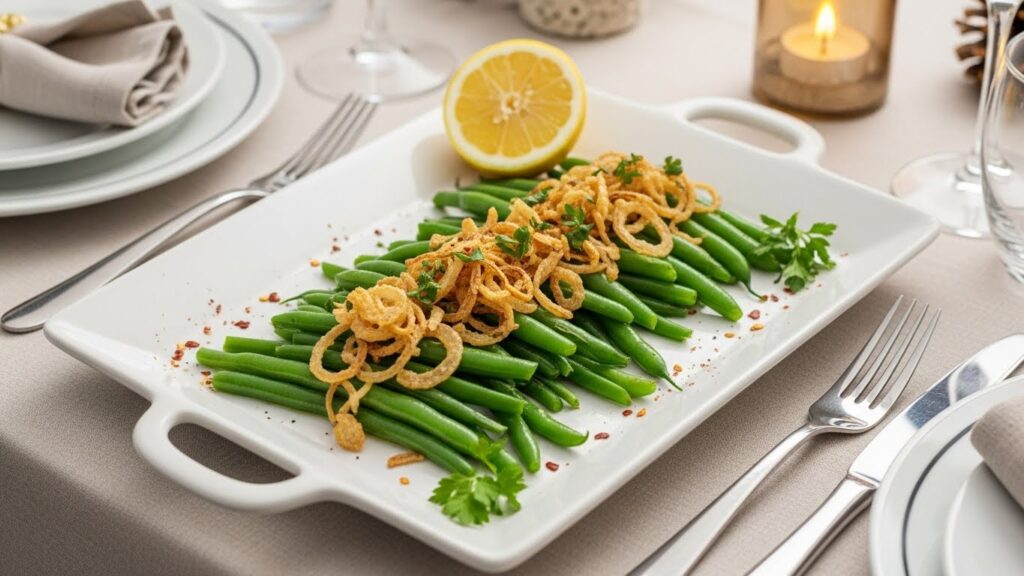
Step 11: Plate and Serve
Transfer the garlicky green beans to your serving platter. Top generously with the crispy fried onions right before serving.
If you add them too early, they’ll lose their crunch. Sprinkle with red pepper flakes if you like a little heat, and serve immediately while everything is hot and fresh.
Chef’s Tips and Variations
Tip 1: Choosing Fresh Green Beans Look for bright green beans that snap easily when you bend them. Avoid limp beans, have brown spots, or feel rubbery. The fresher your beans, the better this dish will taste. At the farmers market, I always ask when they were picked – same-day beans are incredible!
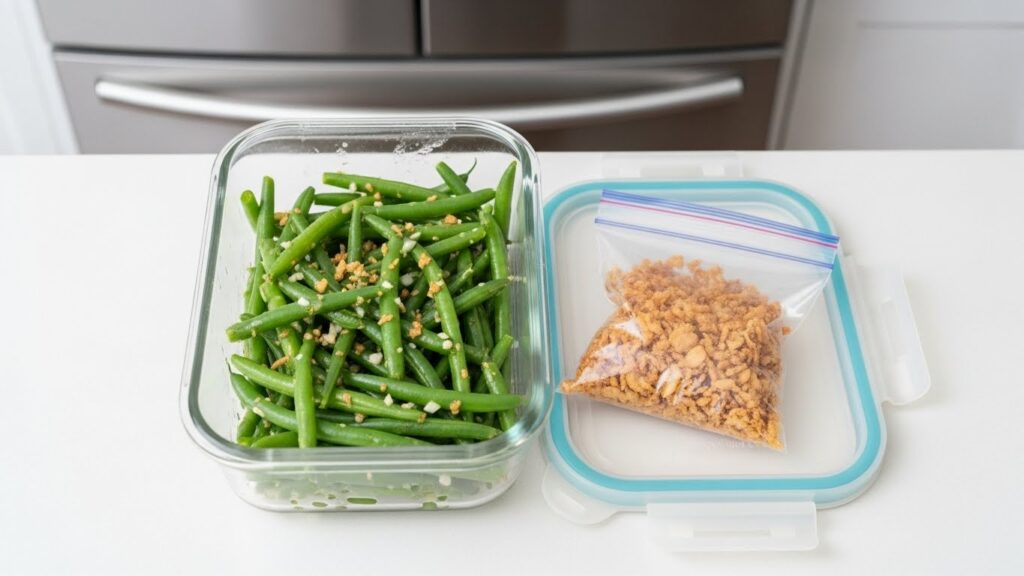
Tip 2: Make-Ahead Strategy You can blanch the green beans and fry the onions up to 1 day ahead. Store the blanched beans in an airtight container in the fridge. Keep the fried onions in a sealed container at room temperature with a paper towel to absorb any moisture. When you’re ready to serve, just sauté the garlic and beans, then top with the pre-made onions.
Tip 3: Don’t Skip the Ice Bath. I know it seems like an extra step, but the ice bath is what keeps your green beans perfectly tender-crisp and bright green. Without it, they’ll continue cooking and turn mushy and dull. This technique is what chefs call “blanching and shocking.”
Tip 4: Flavor Variations to Try
- Asian-Style: Add 1 tablespoon soy sauce, 1 teaspoon sesame oil, and top with sesame seeds instead of fried onions
- Italian-Style: Use butter instead of oil, add ½ teaspoon dried oregano, and finish with parmesan cheese
- Spicy Kick: Add ½ teaspoon smoked paprika and double the red pepper flakes
- Herb Garden: Toss in fresh thyme or rosemary sprigs while cooking the beans
Tip 5: Store-Bought Shortcut If you’re short on time, you can use store-bought fried onions (like French’s). They work perfectly fine, though homemade ones taste fresher and less salty. No judgment here – I’ve done it plenty of times when I’m in a rush!
Tip 6: Common Mistakes to Avoid. The biggest mistake people make is overcrowding the pan when frying onions. This makes them steam instead of fry, and you’ll end up with soggy onions instead of crispy ones. Work in small batches, and be patient. It’s worth the extra few minutes!
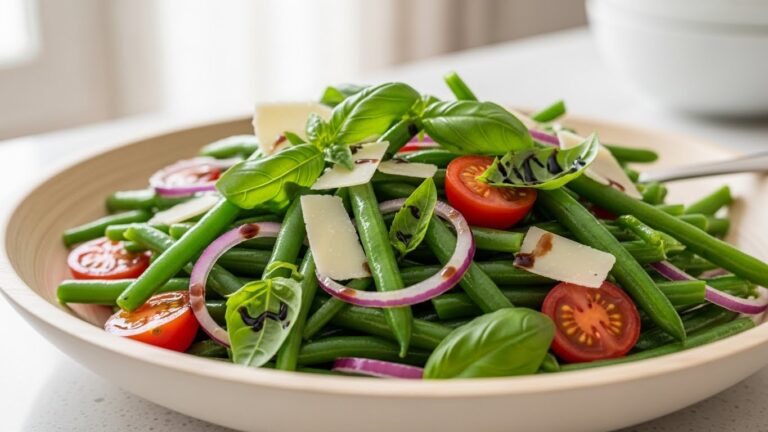
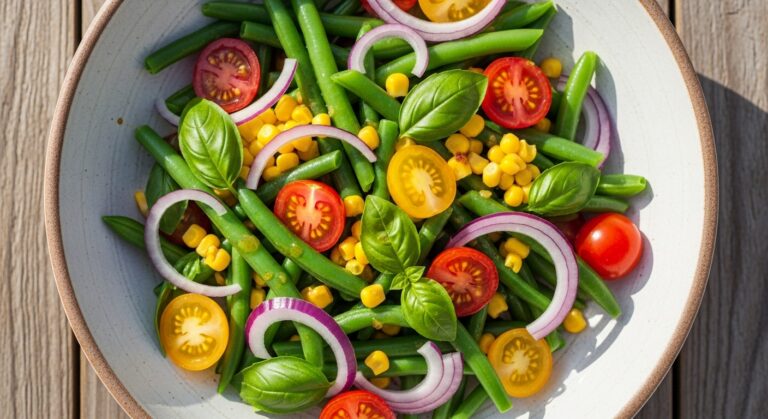
Read More – Green Beans with Cranberries, Bacon, and Goat Cheese
Serving Suggestions
This dish looks beautiful served family-style on a large white platter with the golden fried onions piled high on top.
For a fancier presentation, arrange the green beans in a neat row and scatter the onions artistically across them. Add a lemon wedge on the side for guests who want extra brightness.
Complete Meal Ideas:
Holiday Dinner: Serve alongside roasted turkey, creamy mashed potatoes, cranberry sauce, and dinner rolls for a classic Thanksgiving or Christmas spread.
Weeknight Comfort: Pair with baked chicken thighs, buttered egg noodles, and a simple garden salad for an easy dinner that feels special.
Date Night: Serve with pan-seared salmon, garlic herb butter, wild rice, and a glass of Chardonnay for an impressive but simple meal.
The crispy onions add great texture contrast, so you don’t need much else on the plate. This side dish holds its own!
Nutritional Information (Per Serving – Based on 2-Person Recipe)
- Calories: 280
- Protein: 4g
- Carbohydrates: 22g
- Dietary Fiber: 5g
- Total Fat: 21g
- Saturated Fat: 3g
- Vitamin A: 15% Daily Value
- Vitamin C: 25% Daily Value
- Vitamin K: 30% Daily Value
- Folate: 12% Daily Value
Green beans are packed with vitamins and minerals while being low in calories. Most of the calories here come from the healthy cooking oils and the fried onions, which add flavor and satisfaction.
Storage and Reheating
Storing Leftovers: Let the green beans cool completely, then transfer them to an airtight container. Store the fried onions separately in their own container or zip-top bag – this keeps them from getting soggy. The green beans will stay fresh in the refrigerator for up to 3 days. The fried onions will keep at room temperature for 2 days or in the fridge for up to 5 days.
Freezing Instructions: I don’t recommend freezing this dish because the green beans lose their crisp texture and the fried onions become soggy when thawed. However, you can freeze blanched green beans (before adding garlic) for up to 3 months. Just skip to Step 8 when you’re ready to use them.
Best Reheating Method: The best way to reheat is in a skillet over medium heat. Add a tiny bit of olive oil or butter, toss in the green beans, and heat for 3-4 minutes until warmed through. You can also microwave them in 30-second intervals, stirring between each interval. Add fresh fried onions right before serving – reheating them makes them lose their crunch. If your stored fried onions got a bit soft, you can crisp them up in a 350°F (175°C) oven for 3-5 minutes.
How Long Does It Stay Fresh: The garlicky green beans stay delicious for 2-3 days in the fridge. After that, the garlic flavor becomes stronger, and the beans lose some of their texture. The fried onions maintain their crunch best within the first day or two.
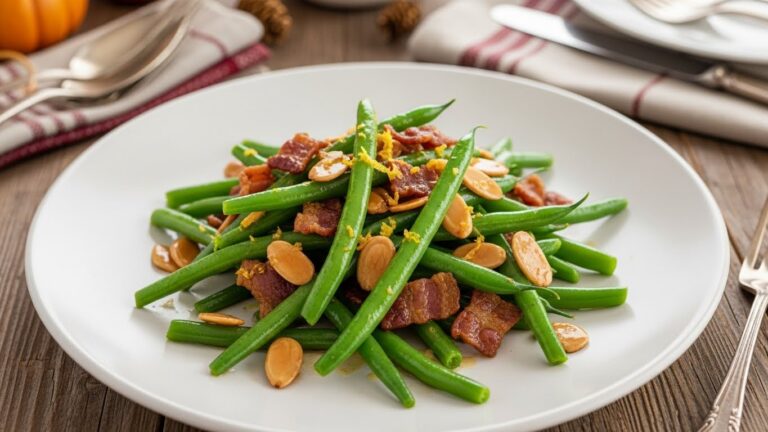
Read More – Homemade Green Bean Casserole Recipe
Frequently Asked Questions
What are Garlicky Green Beans with Fried Onions?
Garlicky Green Beans with Fried Onions is a flavorful side dish featuring tender-crisp green beans sautéed with aromatic garlic and topped with golden, crispy fried onions. It’s easy to make in just 25 minutes and perfect for holiday dinners or weeknight meals.
How long does it take to make this recipe?
This recipe takes approximately 25 minutes from start to finish: 10 minutes for preparation and 15 minutes for cooking, making it a quick and easy side dish for any occasion.
Can I make Garlicky Green Beans with Fried Onions ahead of time?
Yes! You can blanch the green beans and fry the onions up to 1 day in advance. Store the green beans in an airtight container in the fridge and the fried onions separately at room temperature. Reheat the beans and top with onions before serving to maintain their crunch.
What type of green beans should I use?
For the best flavor and texture, use fresh green beans that are bright green and snap easily. Avoid limp or rubbery beans, and look for ones without brown spots. Freshness is key to achieving tender-crisp beans.
Can I use frozen green beans for this recipe?
While fresh green beans are ideal, you can use frozen green beans if needed. Thaw and pat them dry completely before cooking to avoid excess water, which can make the dish soggy.
How do I make the fried onions crispy?
Thinly slice onions, coat them lightly in all-purpose flour, and fry in batches in hot oil. Avoid overcrowding the pan to prevent steaming. Drain on paper towels and season immediately with a pinch of salt for maximum crunch.
Can I add extra flavors to this dish?
Absolutely! Try these variations:
- Asian-style: soy sauce, sesame oil, sesame seeds
- Italian-style: butter, dried oregano, parmesan cheese
- Spicy kick: smoked paprika and extra red pepper flakes
- Herb garden: fresh thyme or rosemary sprigs
What dishes pair well with Garlicky Green Beans with Fried Onions?
This versatile side dish pairs well with roasted chicken, grilled salmon, baked pork chops, garlic mashed potatoes, herb rice pilaf, or even as part of a vegetarian spread.
How do I store leftovers?
Store cooled green beans in an airtight container in the fridge for up to 3 days. Keep fried onions separately at room temperature for 2 days or in the fridge for up to 5 days. Reheat the beans in a skillet and add fresh fried onions just before serving.
Can I freeze Garlicky Green Beans with Fried Onions?
It’s not recommended to freeze the fully prepared dish because green beans lose their crisp texture, and fried onions get soggy. You can freeze blanched green beans for up to 3 months and add garlic and onions when ready to serve.
What are some common mistakes to avoid?
The most common mistake is overcrowding the pan while frying onions, which causes them to steam instead of crisp. Fry onions in small batches and be patient for golden, crunchy results.
Conclusion
This Garlicky Green Beans with Fried Onions recipe proves that vegetables don’t have to be boring! With just a handful of simple ingredients and about 25 minutes of your time, you can create a side dish that’s restaurant-quality delicious.
The combination of tender green beans, aromatic garlic, and crispy fried onions creates layers of flavor and texture that’ll make this a regular request at your dinner table.
Don’t be intimidated by the fried onions – they’re much easier than you think, and the homemade version tastes so much better than store-bought.
But hey, if you need to take a shortcut, I won’t tell anyone! The most important thing is getting those fresh green beans on your plate and enjoying a healthy, flavorful vegetable that actually excites you.
Give this recipe a try this week, and let me know how it turns out! Did you add any special twists?
Did your family love it as much as mine does? Leave a comment below and share your experience.
And if you found this recipe helpful, share it with a friend who needs some fresh dinner ideas.
Happy cooking!